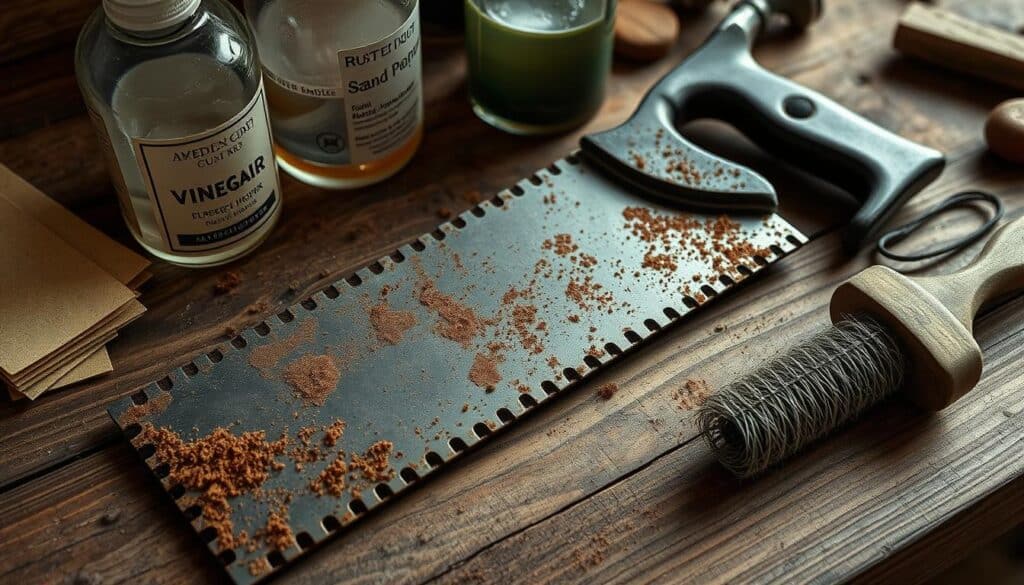
I remember the excitement when I found a vintage Disston D23 handsaw at a garage sale for $2. It was a moment that sparked my passion for restoring old tools. But, rust had other plans. It made the journey both frustrating and satisfying.
In this guide, I’ll share my knowledge on removing rust from handsaws. You’ll learn effective techniques to restore your tools. We’ll go through the steps of this rewarding DIY process together.
Key Takeaways
- Understand that rust occurs from exposure to moisture and can hinder performance.
- Manual removal techniques are highly recommended over chemical options for handsaws.
- Essential tools include sandpaper, a razor blade, and cleaning agents such as Simple Green.
- Follow a structured restoration process to ensure thorough cleaning and refinishing.
- Pursue regular maintenance to prolong the lifespan of your handsaws.
Understanding Rust on Handsaws
Rust on tools, like handsaws, is a common problem. It can make them less useful. Knowing why rust happens helps me keep my tools in top shape. When iron or steel meets moisture and oxygen, rust forms.
It’s key to understand these causes to keep handsaws lasting longer.
What Causes Rust on Tools?
The main reasons for rust on tools are:
- Moisture: High humidity or direct water exposure causes oxidation.
- Improper Storage: Tools left in damp places can rust.
- Lack of Maintenance: Not cleaning tools after use lets moisture in.
Knowing these causes helps me prevent rust better.
Impact of Rust on Performance
Rust can really hurt how well tools work. It can cause:
- Harder cutting, making tasks less efficient.
- Less control, which is unsafe.
- Damage to the blade, needing expensive fixes.
Fixing rust quickly keeps tools working well. Regular checks and care are key to avoiding rust’s bad effects.
Best Way to Remove Rust from Handsaws
Keeping handsaws in good shape means removing rust the right way. I like using manual methods because they give me control and avoid damage. Harsh chemicals can harm the saw, so I stick to manual removal. It takes time, but the results are worth it.
Why Manual Removal is Preferred
Manual rust removal keeps my tools in great condition. Chemicals can damage the metal or remove etch marks. By removing rust by hand, I protect the saw’s quality and keep its marks.
Tools You Will Need
To remove rust from handsaws, I use a few key tools:
- Razor blade scraper
- Sandpaper (400 and 600 grit)
- Brass brush
- Evaporust
- Simple Green
- WD-40
- Scotch Brite pads
- Boiled linseed oil
- Mineral spirits
- Paste wax
- Steel wool
- Paper towels and rags
These tools help me remove rust effectively and clean thoroughly. For example, using silicon carbide sandpaper with mineral spirits helps clean without scratching. Each tool is important for the best results.
Preparing Your Workspace
Setting up the right space is key when I remove rust from my handsaws. A well-organized workspace makes the job easier and keeps me safe. I always make sure to pick the best spot and take the necessary safety steps.
Choosing the Right Location
I look for a spot with good air flow, often on a solid workbench. This lets me move tools freely and clean up easily. It’s also important to keep flammable stuff away, whether I’m using chemicals or power tools.
Having everything I need within reach helps me work faster and more efficiently. This makes the whole process smoother.
Safety Precautions
Safety is always my top priority when I tackle rust removal. I wear gloves, goggles, and a mask to protect myself from dust and sharp bits. These safety precautions are vital to avoid injuries, which is why I always double-check my gear before starting.
Step-by-Step Rust Removal Techniques
Removing rust from your handsaw needs a careful plan. First, I take apart the saw to clean each part well. This method helps bring back my tools to their best state.
Disassembling the Handsaw
I start by loosening the saw nuts with a screwdriver. It’s key to know which nuts go where for putting it back together. After sorting and setting aside all parts, I make sure everything is in order. This makes the cleaning process much easier.
Cleaning the Saw Nuts and Hardware
Then, I clean the saw nuts. I soak them in a mix of 1 tablespoon of powdered citric acid and 16 fluid ounces of water. After three hours, I scrub them with a brass brush to get rid of rust.
This method works well without damaging the surface. For extra cleaning, I use fine wet’n’dry paper with WD40 or white spirit on light rust. Wire wool and turps also help with light rust spots. Once all parts are clean, I’m ready to finish the restoration.
Removing Rust from the Saw Plate
Removing rust from the saw plate requires careful methods. A detailed approach keeps the saw’s etching intact and functional. The first steps involve some key techniques for a smoother process.
Initial Cleaning with a Razor Blade
Starting with a razor blade is a good first step. I scrape off big rust spots, careful not to harm the etchings. A thin-bladed screwdriver helps with tough spots.
After scraping, I use Evaporust or WD-40 to help remove more rust. Some people find aluminum foil useful for tough spots.
Sanding with Wet or Dry Sandpaper
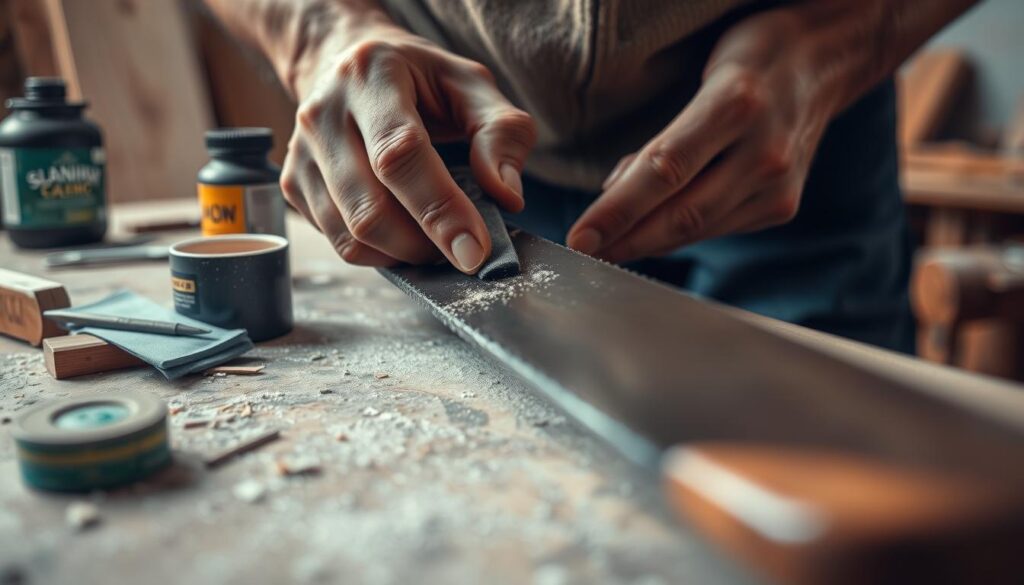
After most rust is gone, I use sanding techniques for the final touches. I sand with 600 grit SiC sandpaper and WD-40 on non-etched areas. This keeps the etchings safe.
It’s key to sand in a horizontal motion to avoid damage. If rust stays, I sand again and clean up with paper towels.
When working with materials like mineral spirits, safety is important. Following safety steps makes cleaning easier and safer. These steps help me get the saw plate ready for use again.
Refinishing the Wood Handle
Refinishing a wood handle makes it look new and feel better. The first step is to remove the old varnish. This step uncovers the wood grain and makes the handle easier to hold.
Removing Old Varnish
To begin, I worked on removing the varnish. I could either scrape it off with a putty knife or use a chemical stripper. The choice depends on how tough the varnish is. After removing it, I sanded the handle lightly. This step removes any leftover varnish and prepares the surface for the next step.
Applying Boiled Linseed Oil
With the surface ready, I applied boiled linseed oil. This oil goes deep into the wood, making it look better and protecting it from moisture. I used a cloth to apply it, making sure to wipe off any extra. The oil dries slowly, leaving a beautiful, warm finish.
Rust Prevention Methods
Keeping tools from rusting is key to their long life. Storing handsaws in dry places helps a lot. This simple step can make tools last longer. I also use coatings and oils to protect against rust.
Storing Tools Properly
Having a special place for tools is important. I keep handsaws in a dry area to fight rust. Using a pegboard or toolbox keeps them organized and dry.
Using Coatings and Oils
Protective coatings and oils are great for stopping rust. Kramer’s Best Antique Improver and Renaissance Wax are good choices. For food-safe tools, Camellia oil is perfect. Using these regularly keeps my tools in top shape and reduces rust risk.
Tips for Long-term Maintenance of Handsaws
Keeping your handsaw in top shape is key to its performance and life span. Regular cleaning and sharpening are musts. Neglecting these can lead to rust, poor cuts, and expensive new saws.
Sharpening the Saws
Keeping your blade sharp is vital for good cuts. Sharpen your saws when they start cutting poorly. This saves time and effort on your projects.
Sharpening regularly also makes your saw last longer. If the blade bends while cutting, it’s time for a new one. A sharp blade cuts smoothly, avoiding sticking issues.
Regular Inspections and Cleaning
Regular cleaning fights rust and catches problems early. Check for rust or wear, like faded names or loose handles. These signs mean it’s time for a new saw.
Sticking to a cleaning routine helps avoid rust and keeps your saw working. Even simple methods, like vinegar soaking, can make a big difference.
Conclusion
Removing rust from handsaws needs a careful and detailed approach. Knowing why rust forms helps me prevent it and fix tools. Keeping them clean and oiled regularly is key to their long life.
Using the right cleaning solutions is important. But, I must be careful not to damage my tools. For example, using too much Hydrochloric acid can harm them badly, like what happened to some pliers.
Following the best ways to care for handsaws is vital. This includes rust bluing and regular checks. Each time I fix a tool, I learn more about its craftsmanship. It makes keeping my collection rewarding.
FAQ
What is the best way to remove rust from handsaws?
To remove rust from handsaws, use manual methods. Tools like a razor blade scraper, sandpaper (400 and 600 grit), and a brass brush work well. They help keep the saw in good shape while getting rid of rust.
How can I prevent rust from forming on my tools?
Keep your handsaws dry to prevent rust. Store them in a dry place, away from moisture. Also, apply anti-corrosive coatings like paste wax to protect your tools.
Are there any DIY rust removal products that work effectively?
Yes, Simple Green is a good DIY rust remover. It’s gentle on tools but effective at cleaning. Use it with manual methods for the best results.
How often should I maintain my handsaws?
Regular maintenance is important. Check and clean your handsaws after each use. Sharpen them as needed to keep them sharp and prevent rust.
What tools do I need for rust removal?
You’ll need a razor blade scraper, sandpaper (400 and 600 grit), a brass brush, and Simple Green. These tools make rust removal easier.
Why is safety important during rust removal?
Safety is key because rust removal involves sharp tools and debris. Wear gloves, goggles, and a mask to protect yourself from injury and dust.
Can I use chemical rust removers on my handsaw?
It’s safer to use manual rust removal instead of chemicals. Chemicals can damage the blade or leave residues. Manual methods are better for your handsaw.
How do I know if my handsaw needs rust removal?
Look for visible rust spots or a chalky white residue. If your saw cuts poorly or feels resistant, it likely has rust.
Source Links
- | Growit Buildit
- Old hand saw restoration guide – The Prepared
- Cleaning Rust From Hand Saws
- Disston saw restoring-Evaporust?
- A Guide To Handsaws: Types, Uses, And Techniques
- How to Clean a Saw
- Restoring Antique Hand Saw Using Home Remedy for Rust Removal
- Cleaning up an old saw
- Heavy rust—Being left unused for decades
- Hand Saw Restoration
- Yes, You Can Remove Years of Rust From Your Older Tools
- Don’t Strip or Dip! Scrape That Rust Away!
- How To Remove Rust From Metal Tools And Parts
- Removing rust – Vinegar and saw blades
- Hand saw maintenance/ When is the due time to repair or replace the blade?
- How to restore these old saws [Archive]
- How To Restore An Antique Back Saw

